Upthrifted: Men’s Shirt To Racer Back Tunic Top DIY
Thrifted men’s shirt to halter tunic top
I have always wanted try upcycling something I bought at the thrift store. I finally got my chance when I found this really nice men’s shirt at the Goodwill. I really LOVE the end result. I’m a huge fan of racer back tops so this one is definitely a winner. Here is how I made it. It’s a lot of steps, but just hang in there. It’s worth the result!
Materials

This is a sewing project, so you will need a machine and matching thread in addition to…
An over-sized men’s button down shirt
Pins
Scissors
Bias tape
Fabric marker
Seam ripper
Measuring tape (optional)

Step 1:
Remove Sleeves and cut shirt straight across at your waist line + 1/2” seam allowance

Step 2
Fit the top bodice piece by pinning the side seams to fit. Add a bust dart for additional shaping. Mark the front of the armhole about 2 “to 3” from the collar depending on how “halter” you want your top

Step 3
Mark the back armhole just a few inches from center back to get the racer back look. Ensure the shoulder and side seam end points of the armhole align with the front.

Step 4
Remove the bodice and fold in half along the center back and front line. Add seam allowance and cut both layers together along the markings.

step 5
Seam rip any remaining seam allowance from the previous armhole.

Step 6
Sew the side seams and darts

Step 7
Finish off the armholes with single fold bias tape. Pin to the front and sew along the fold line . Then fold to the inside and top stitch close to the edge of the bias tape

step 8
Seam rip the front plackets on both the top and bottom bodice pieces to gain access to the raw edges covered by the placket. Unpick only a couple of inches down. Just enough to allow you to sew the cut edge. Do the same to the side with the buttons.
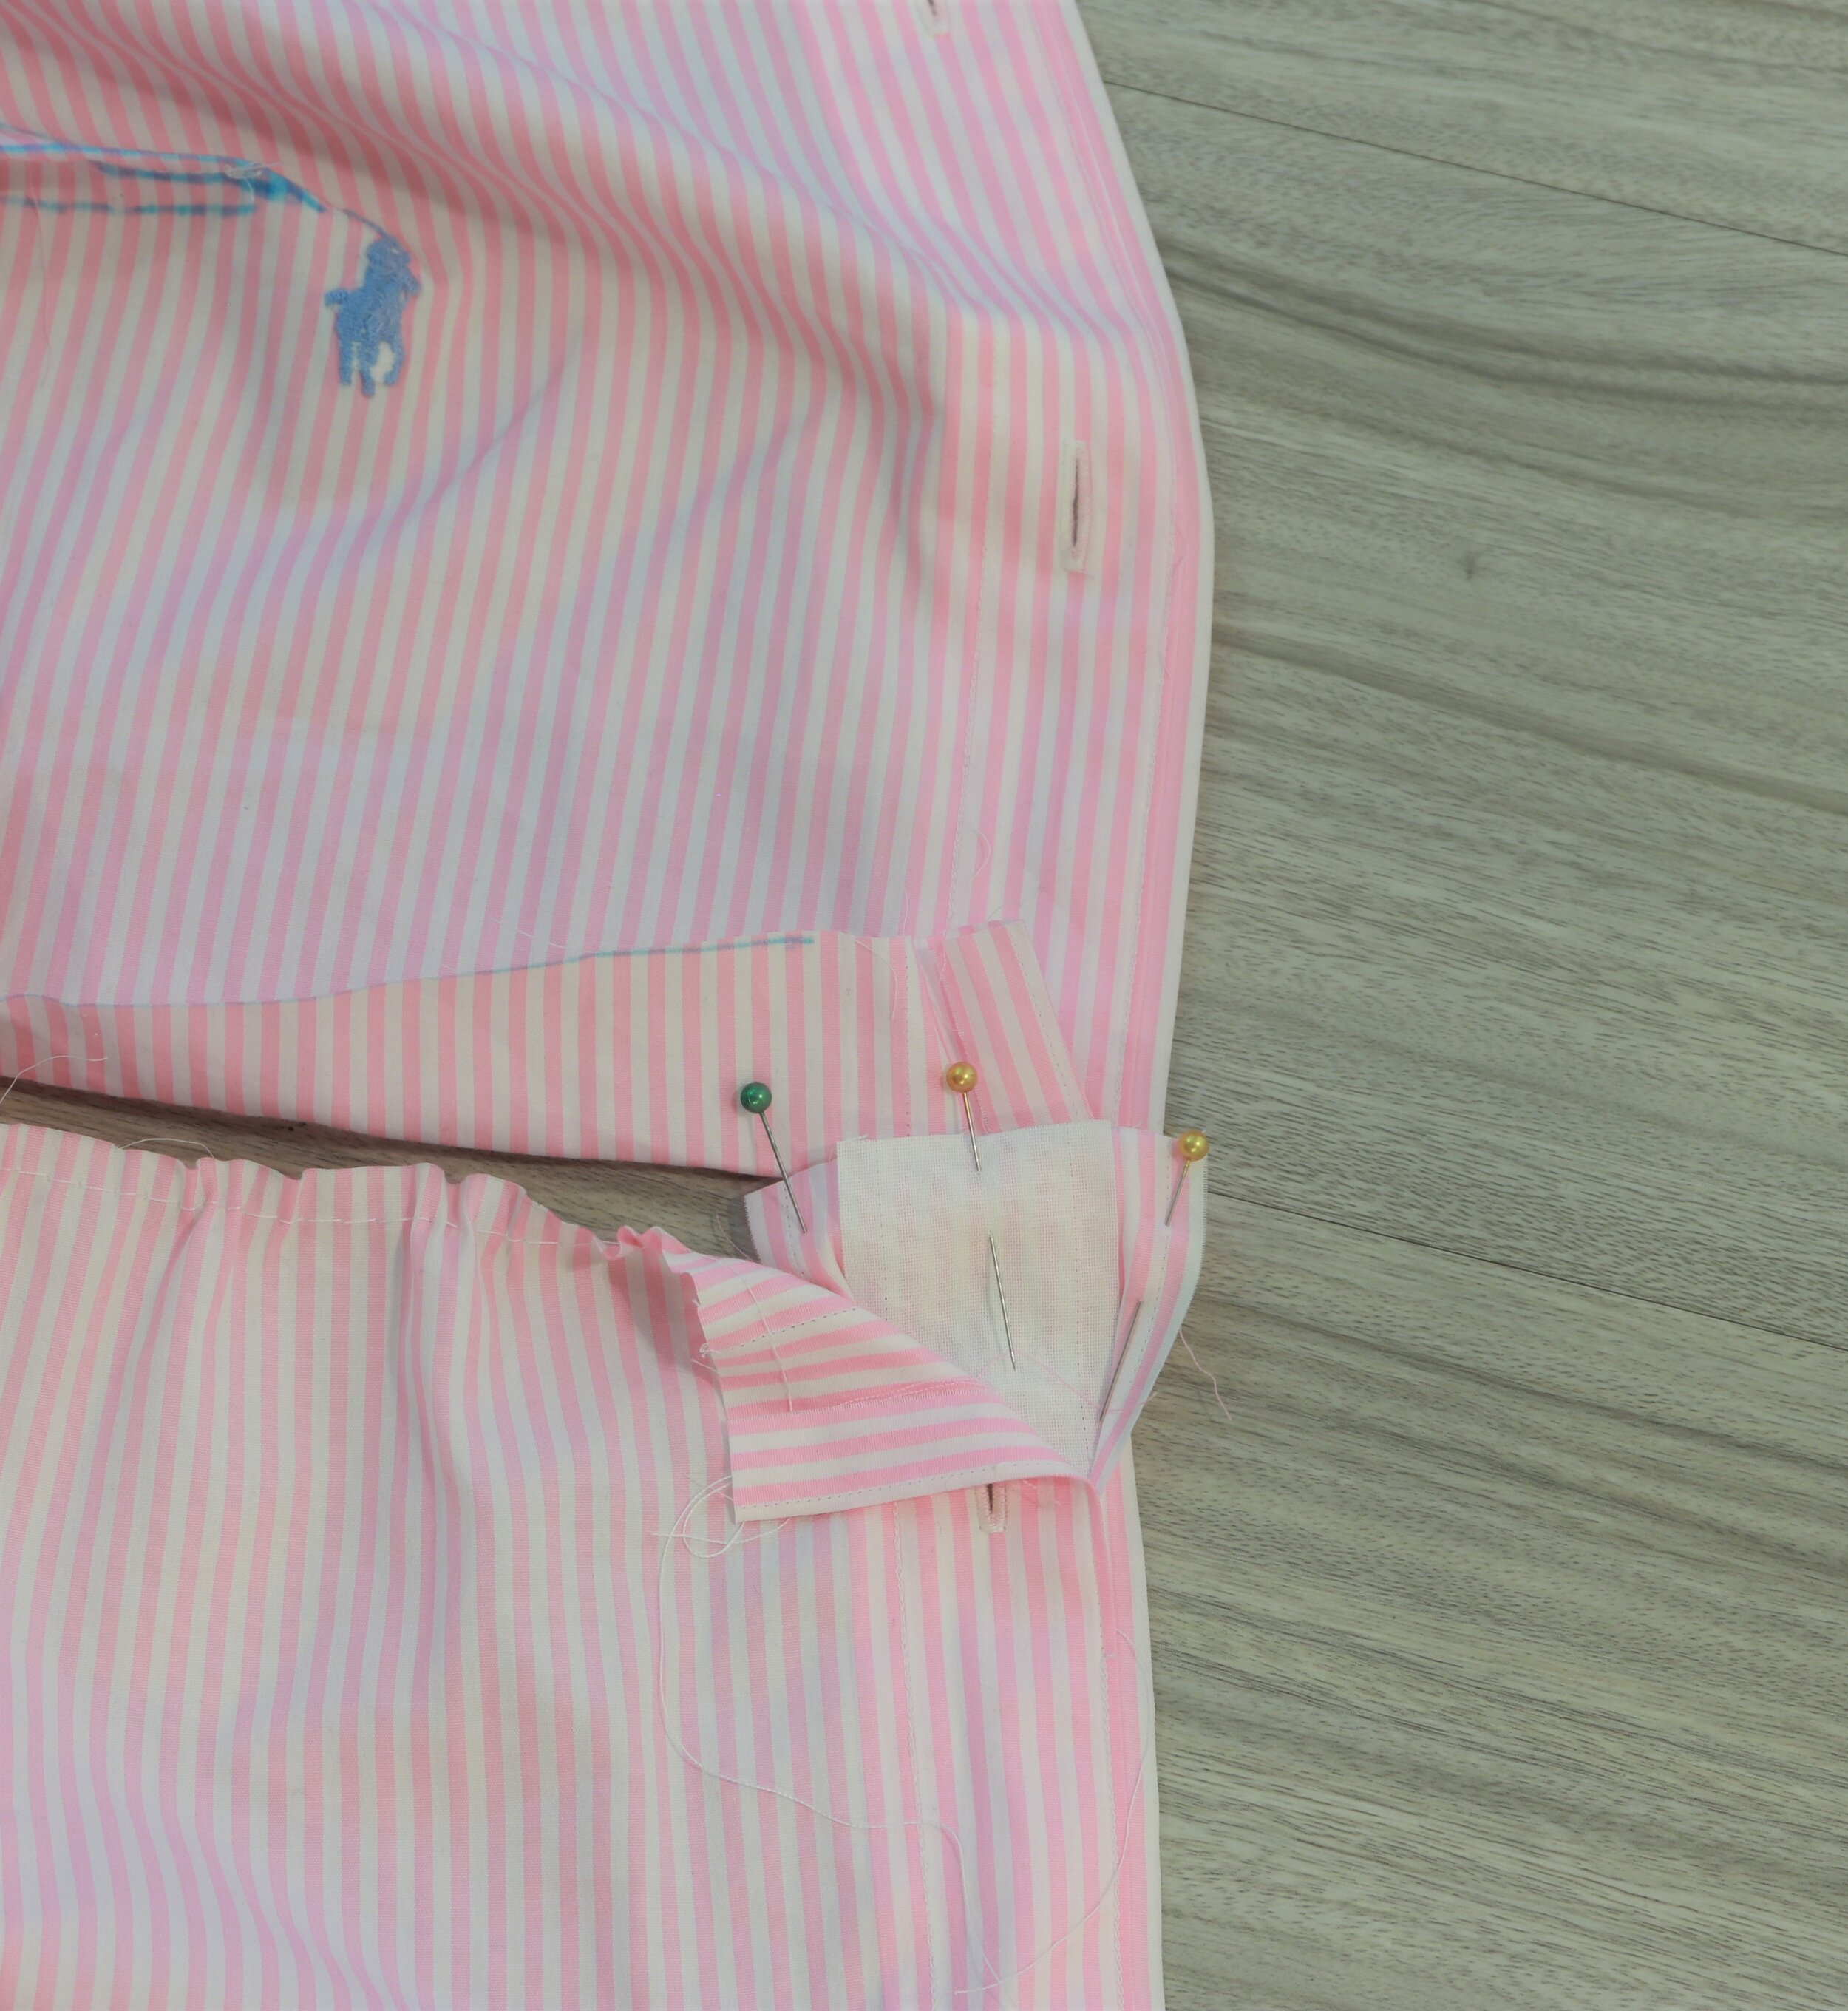
Step 9
Open up the top and bottom button placket pieces, facing right sides together and sew a 1/2 inch across to join.

Step 10
Gather the bottom portion of the bodice by sewing and pulling basting stitches until it matches the top. Evenly distribute gathers and pin and sew to the top half.

Step 11
Fold back in the raw edges of the plackets and top stitch to finish off the front

Step 12:
To make a waist / neck tie, remove cuff from sleeve, and cut down the sleeve seam. Cut out 2 strips the same width from each sleeve.

Step 13
Pin and sew the edges of the four strips together to make one long strip.

Step 14
Fold in half, right sides facing and starting at one short edge sew 1/2 inch seam allowance. Sew along the long edge, leaving a 2 inch gap, before finishing through the short edge.Turn the tie inside out and press. Hand or top stitch the opening closed.
Hopefully you now have a top that you love as much as I do. If you happen to make one, I’d love to see it! Feel free to tag me on IG (@thesittingbird). Happy sewing!

